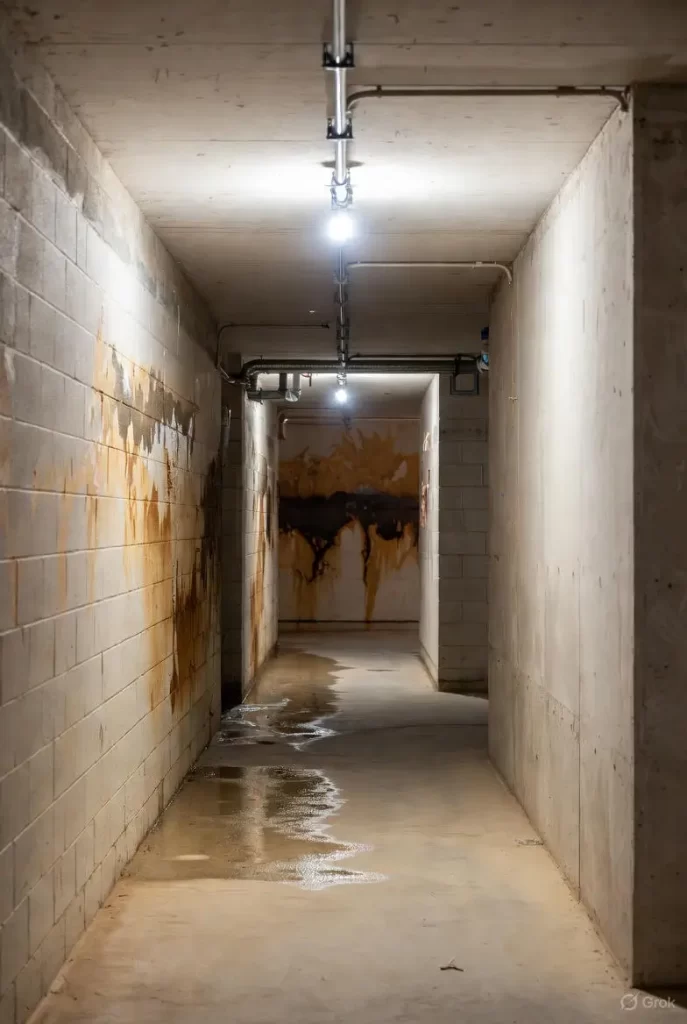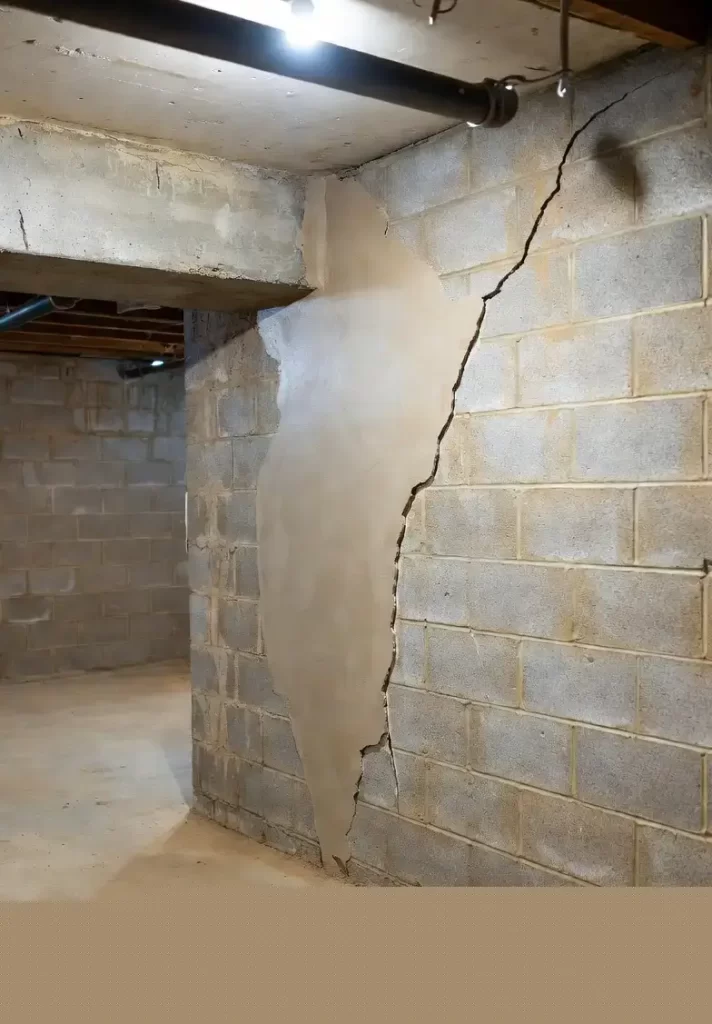
Is Water Putting Your Basement at Risk?
If water keeps collecting around your foundation or you’re starting to see cracks and moisture in your basement, getting the drainage problem identified early can help prevent more serious damage.
Call 313-367-0241If you live in Rochester Hills, Michigan, you already know that heavy rain, spring snowmelt, and changing groundwater levels can put a lot of pressure on a home’s foundation.
One of the best ways to protect basement walls is to control water before it has a chance to build up against the foundation.
A simple drainage strategy can combine proper exterior grading with a French drain and an interior sump pump. Together, these systems can give water a controlled path away from your basement instead of allowing it to sit against the foundation and contribute to hydrostatic pressure.
The goal isn’t just to deal with a basement leak after it happens. The goal is to reduce the amount of water surrounding your foundation in the first place.
Important: Installing a French drain and sump system involves excavation, electrical work, plumbing, and potential foundation work. Before digging, verify utility locations and local requirements. If your basement is already showing significant structural movement or water intrusion, have the foundation evaluated before starting a DIY drainage project.
Why Basement Walls Need Protection From Water
Concrete basement walls may look solid, but they are not completely waterproof.
Water in the soil surrounding your foundation creates pressure against the outside of the basement wall. This is commonly called hydrostatic pressure.
The more water that accumulates around the foundation, the greater the pressure can become.
Over time, persistent moisture can contribute to:
- Basement leaks
- Damp concrete walls
- Efflorescence
- Musty odors
- Mold-friendly conditions
- Deteriorating masonry
- Cracks becoming more noticeable
A drainage system gives that water somewhere else to go.
Instead of allowing water to remain beside the foundation, the system collects it and moves it toward a controlled discharge point.
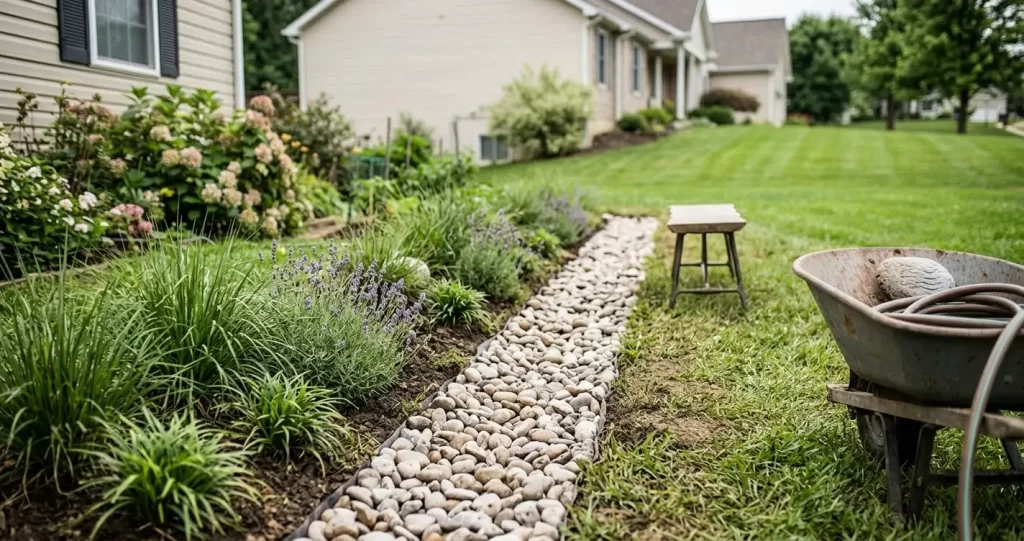
Start With Proper Grading
Before installing drains, look at the easiest way to keep water away from the house.
Your yard should generally slope away from the foundation.
If the ground slopes toward your basement walls, rainwater naturally moves toward the house. Even an excellent drainage system can become overwhelmed if large amounts of surface water are continually flowing toward the foundation.
Walk around the house after a heavy rain.
Look for:
- Standing water beside the foundation
- Soil that slopes toward the house
- Downspouts dumping water near the basement
- Low areas where rainwater collects
- Saturated soil around basement walls
Correcting these issues can be one of the most effective parts of a basement drainage strategy.
Check Your Gutters and Downspouts
Don’t overlook the roof.
Every time it rains, thousands of gallons of water can potentially run across your roof and into your gutter system.
If a downspout releases that water directly beside the foundation, it can saturate the soil surrounding the basement wall.
Make sure gutters are clean and downspouts discharge water away from the foundation.
Downspout extensions can be a relatively inexpensive way to reduce the amount of water reaching the soil immediately beside the basement.
How a French Drain Works
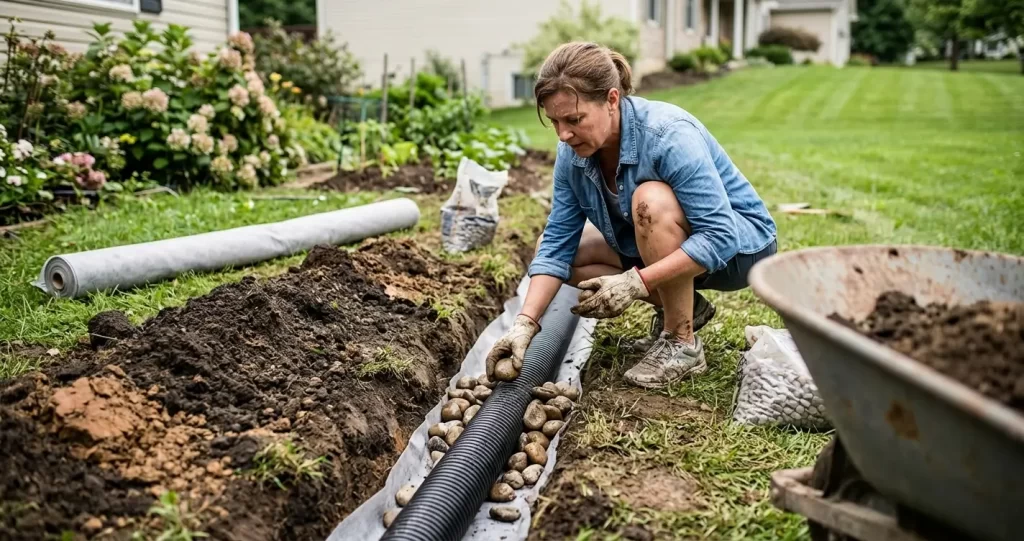
A French drain is essentially a drainage trench designed to collect and redirect water.
A typical system contains:
- A trench
- Perforated drainage pipe
- Washed drainage gravel
- Filter fabric
- A controlled discharge point
Water enters the gravel and reaches the perforated pipe. The pipe then carries the collected water toward an appropriate outlet.
For basement protection, the exact design depends on whether you’re dealing with surface water, groundwater, or water entering through the foundation.
Step 1: Plan the Drainage Route
Don’t start digging without first deciding where the water will go.
The drainage route needs to lead to a location where water can safely discharge without simply returning toward your house.
Depending on the property, that could involve an approved discharge area, storm drainage connection, daylight outlet, dry well, or another drainage solution permitted in your area.
Your property and local regulations will determine what’s appropriate.
Also identify underground utilities before excavation.
Step 2: Excavate the Trench
For a basic exterior French drain, excavate a trench along the area where water needs to be collected.
The trench needs enough depth and width to accommodate the drainage pipe and surrounding gravel.
The most important consideration is maintaining the proper slope.
Water needs a path to move through the system rather than sitting in the pipe.
For larger or complicated drainage projects, determining the correct elevation and slope before digging is critical.
Step 3: Install Filter Fabric
Line the trench with water-permeable landscape or drainage fabric.
The fabric helps keep surrounding soil from migrating into the gravel and eventually clogging the drainage system.
Don’t use ordinary plastic sheeting.
The goal is to allow water into the drainage system while limiting the amount of soil and sediment that enters it.
Step 4: Add Washed Gravel
Place a layer of clean, washed drainage gravel into the bottom of the trench.
Avoid using random dirt, sand, or construction debris around the pipe.
Clean gravel allows water to move freely around the perforated pipe.
Gravel also creates space for water to travel toward the drainage pipe.
Step 5: Install the Perforated Pipe
Place the perforated drainage pipe into the gravel bed.
The pipe should follow the planned slope toward the discharge point.
Connect sections securely and make sure the system does not have unnecessary low spots where water can collect.
The pipe should be surrounded by gravel rather than buried directly in soil.
Step 6: Cover the Pipe With More Gravel
Once the pipe is positioned correctly, surround it with additional washed gravel.
The more effectively water can reach the pipe, the better the drainage system can perform.
Fold the drainage fabric over the gravel before finishing the trench.
This creates a barrier between the soil and drainage material.
Finally, backfill the trench with appropriate material and restore the surface.
Why an Interior Sump Pump Can Make the System More Reliable
Exterior drainage can reduce the amount of water surrounding your basement, but some homes still experience groundwater problems.
That’s where an interior sump pump can become useful.
A sump system gives groundwater entering beneath or around the basement another place to go.
The basic concept is simple:
Water enters the drainage system → water flows toward the sump pit → the sump pump removes it → water is discharged away from the foundation.
The sump pump should not simply discharge water next to the foundation.
If it does, you’re essentially sending the same water right back where it started.
Step 7: Install a Watertight Sump Pit
The sump basin needs to be properly installed and sealed according to the system design.
A quality sump pit should collect water without allowing surrounding soil to collapse into the basin.
A properly fitted lid is also important.
A sealed or properly covered sump pit helps reduce:
- Basement odors
- Humidity
- Soil gases
- Debris entering the basin
The pump should sit securely inside the pit and be sized appropriately for the amount of water the system is expected to handle.
Step 8: Make Sure the Pump Has a Reliable Discharge
A sump pump is only useful if it can actually move water away from the home.
The discharge line needs to carry water to an appropriate location.
Make sure the outlet isn’t positioned where water can flow backward toward the foundation.
Michigan homeowners should also consider what happens during a power outage. Heavy storms are exactly when basement water problems are most likely, and those storms can also cause electrical interruptions.
A battery backup sump pump or other backup system can provide additional protection.
Can a French Drain Prevent Basement Cracks?
It can help reduce one factor that contributes to foundation problems: water pressure.
But a French drain isn’t a guarantee that your basement will never develop a crack.
Foundation cracks can occur for many reasons, including concrete shrinkage, settlement, soil movement, frost-related conditions, and structural problems.
The purpose of drainage is to manage water and reduce the amount of moisture and pressure surrounding the foundation.
That’s valuable even if your basement walls are currently crack-free.
5 Common Basement Drainage Questions Rochester Hills Homeowners Ask
1. Do I need a French drain if my basement isn’t leaking yet?
Not necessarily. However, if your property has poor grading, frequent standing water, saturated soil, or a history of basement moisture, improving drainage before a leak develops can be a smart preventative measure.
2. Why does my Rochester Hills basement get wet after heavy rain?
Heavy rainfall can saturate the soil surrounding your foundation. If grading, gutters, downspouts, or foundation drainage aren’t handling the water effectively, moisture can eventually find its way through cracks, joints, or porous concrete.
3. Should my downspouts drain into the French drain?
It depends on how the drainage system is designed. Combining roof runoff with a French drain can overwhelm a system that wasn’t designed for the additional water. In many cases, it’s better to give roof runoff its own controlled discharge route.
4. Does a sump pump really need a backup in Michigan?
A backup can be worthwhile because heavy storms can cause both flooding conditions and power outages. If your basement depends on a sump pump to stay dry, losing power during a major storm can leave you vulnerable.
5. Why does water keep collecting near my foundation even after I improve the yard grading?
The property may have deeper drainage problems, saturated soil, a high groundwater condition, or an issue with the existing foundation drainage system. If surface grading isn’t solving the problem, the next step is determining where the water is coming from and where it needs to go.
The Best Basement Waterproofing Starts Outside the Basement
You don’t always have to wait until a basement wall cracks or water starts coming through before taking action.
Keeping water away from your foundation is one of the simplest ways to reduce the conditions that can contribute to basement moisture problems.
Start with the basics: correct the grading, maintain your gutters, extend downspouts, and eliminate areas where water collects beside the foundation.
If those measures aren’t enough, a properly designed French drain can collect groundwater and surface water and redirect it. An interior drainage system and sump pump can provide another layer of protection by collecting water that makes its way below the basement.
The important part is that every component works together.
Water needs to be collected, given a clear path, and discharged somewhere away from the foundation.
If you’re already seeing cracks, damp walls, efflorescence, or recurring basement water, don’t wait for the problem to become more expensive. A drainage problem is usually much easier to address before it turns into a major basement repair.