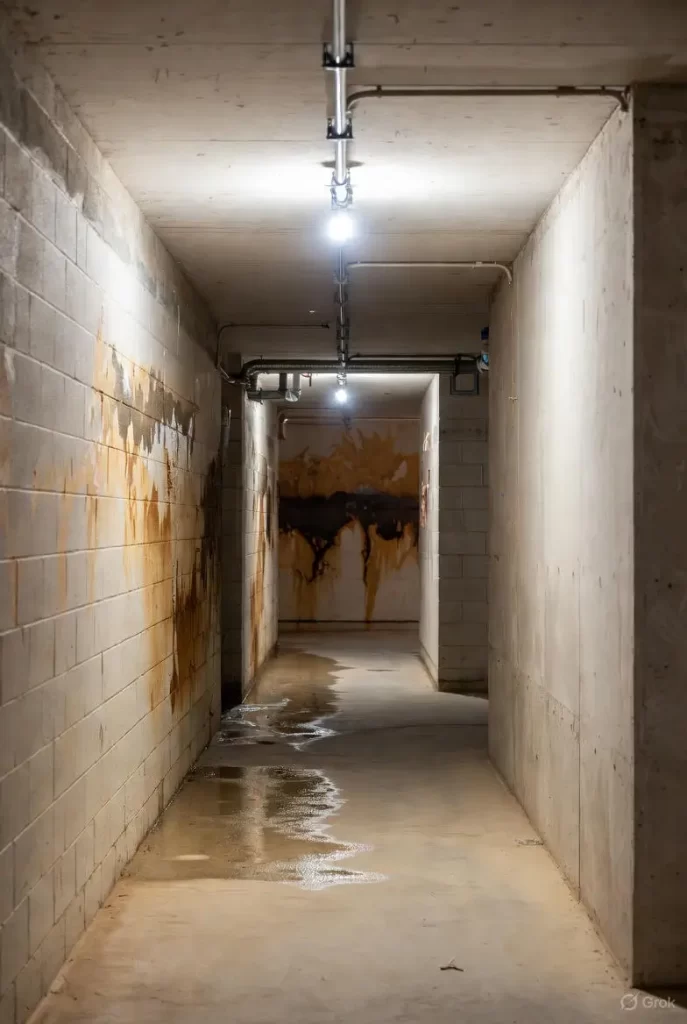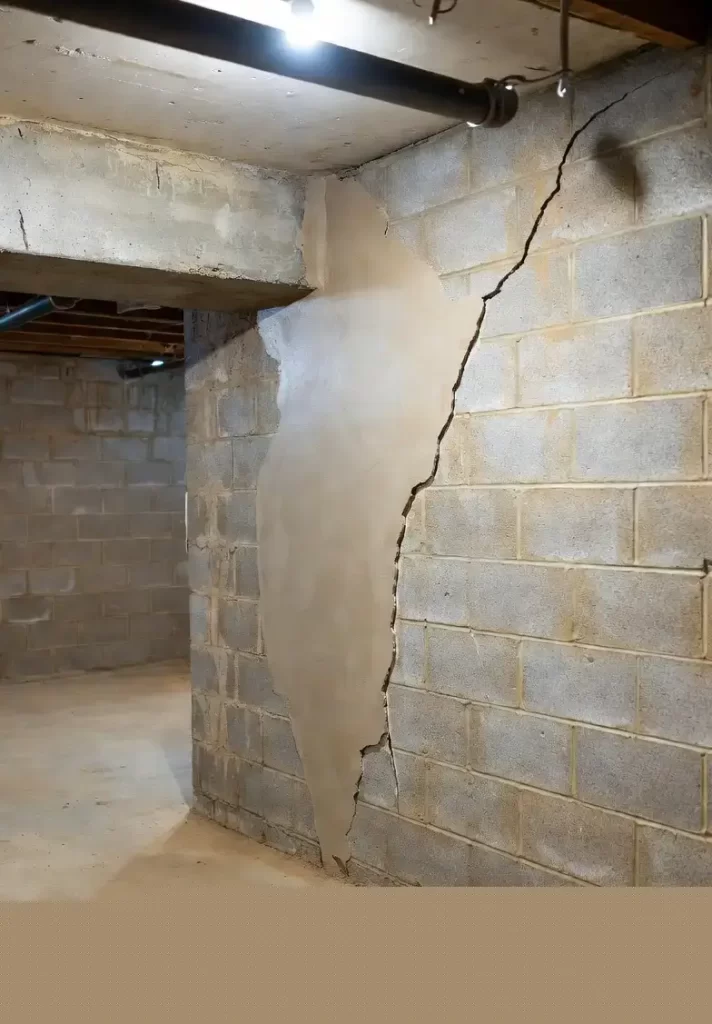
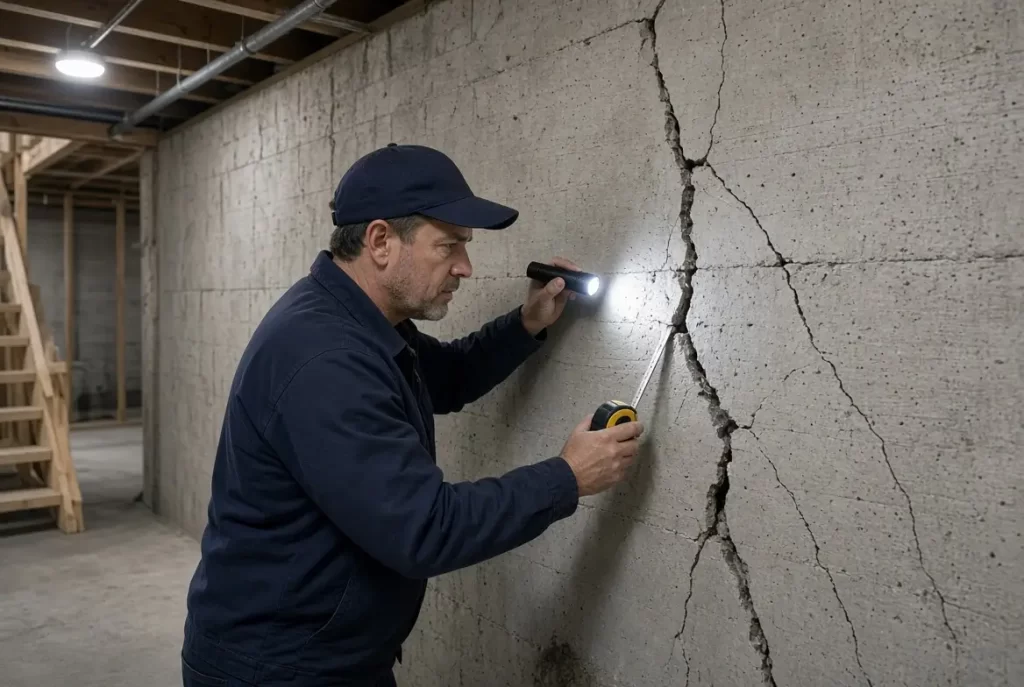
Is Water Coming Through Your Basement Wall?
If you’ve patched a basement crack but still have moisture or leaks, the problem may be bigger than the crack itself. Get help identifying the source of the water and the right solution for your basement.
Call 313-367-0241A cracked basement wall can be more than an eyesore. If water is coming through the crack, it can leave the basement damp, create a musty smell, damage finishes, and contribute to larger moisture problems.
The good news is that some small, stable cracks in concrete basement walls can be repaired by homeowners. The important part is using the right process. Simply spreading hydraulic cement or caulk over the crack may hide the problem temporarily, but it does not necessarily address moisture moving through the foundation.
A better approach is to inspect the crack, test the wall for moisture, prepare the concrete, repair the damaged area with an appropriate polymer-modified mortar, and then use a compatible waterproofing system.
Here’s how to approach the job.
First, Determine Why the Basement Wall Is Cracked
Before repairing a crack, take a close look at it.
A narrow vertical crack in a poured concrete foundation is often associated with normal concrete shrinkage or settling. These cracks can sometimes be repaired without major structural work.
However, not every crack is a simple DIY project.
Be cautious if you notice:
- A horizontal crack across the foundation wall
- A crack wider than about 1/4 inch
- A crack that continues to grow
- Several cracks appearing in the same area
- Bowing or leaning of the basement wall
- Large pieces of concrete breaking away
- Significant water entering through the crack
- Doors or windows becoming difficult to operate because of foundation movement
These conditions can indicate structural movement or significant water pressure against the foundation.
A patch will not correct a structural foundation problem.
Step 1: Check the Wall for Moisture
Before you start patching, figure out whether moisture is actually moving through the wall.
Look at the crack after a heavy rain. If the concrete becomes visibly wet or water appears along the crack, you know you are dealing with active moisture intrusion.
You can also perform a simple plastic-sheet test.
Tape a piece of clear plastic tightly against the concrete wall and leave it in place for roughly 24 hours. Afterward, inspect both sides of the plastic.
If moisture develops between the plastic and concrete, moisture may be moving through the wall. If moisture appears on the room-facing side, humidity or condensation may be contributing to the problem.
A masonry moisture meter can also provide additional information, although readings can vary depending on the concrete and the meter being used.
This step matters because a basement crack that looks dry today may become an active leak during the next major storm.
Step 2: Clean the Crack Thoroughly
Surface preparation is one of the most important parts of a successful basement wall repair.
Remove dirt, dust, loose concrete, old paint, deteriorated sealant, and previous patching material from the crack and the surrounding concrete.
A stiff wire brush can help remove loose material. A shop vacuum is useful for removing dust after brushing.
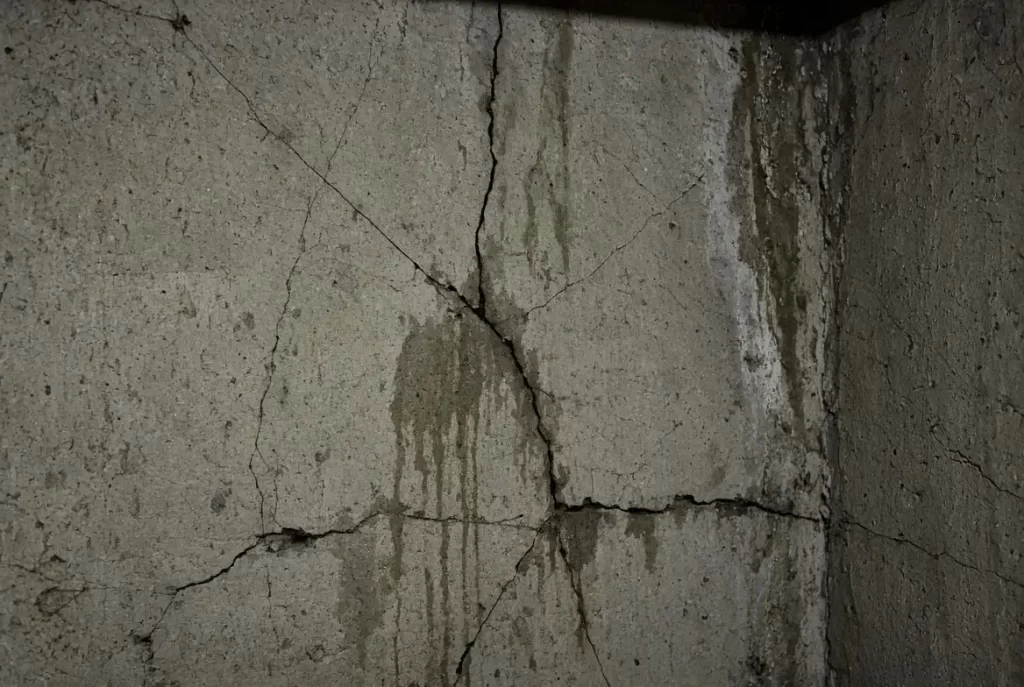
If the concrete has white, powdery deposits, you may also be dealing with efflorescence. Efflorescence occurs when water moves through masonry and leaves mineral deposits behind as it evaporates.
Do not simply cover these deposits with a new coating. Clean the surface according to the requirements of the product you plan to use.
The repair material needs a solid, clean surface to bond properly.
Step 3: Prepare the Crack
Very small hairline cracks may not require extensive preparation. Larger non-structural cracks may need to be opened slightly to provide a better surface for the repair material.
A masonry chisel can be used carefully to remove loose concrete and create a clean repair area.
Don’t aggressively hammer around the crack. If you are unsure whether the crack is structural, have it evaluated before doing anything that could make the damage worse.
Once the crack has been prepared, vacuum away remaining dust and debris.
The goal is to have clean, solid concrete around the entire repair area.
Step 4: Apply Polymer-Modified Mortar
For appropriate non-structural repairs, polymer-modified mortar can provide a strong bond to concrete and masonry.
Choose a product specifically intended for concrete or masonry repair and follow the manufacturer’s mixing instructions.
Avoid adding extra water just to make the mortar easier to spread. The manufacturer’s specified mixture is designed to provide the intended strength and performance.
Press the mortar firmly into the prepared crack.
Don’t simply smear a thin layer across the surface. The material needs to fill the prepared repair area.
For deeper cracks or damaged areas, follow the product’s instructions regarding application thickness and whether the material needs to be installed in multiple applications.
Once the mortar is in place, tool the surface smooth and allow it to cure completely.
The curing time is important. Applying waterproofing too soon can interfere with the repair or prevent the next coating from bonding correctly.
Step 5: Apply a Waterproofing Membrane
Once the mortar has properly cured, the repaired area can be protected with a compatible waterproofing membrane or masonry waterproofing coating.
This is where homeowners sometimes make a mistake.
Not every waterproofing product is designed to go over every type of mortar. Check the manufacturer’s instructions before combining products.
The waterproofing material should generally extend beyond the crack rather than being applied only to the exact line where the repair was made.
This gives the surrounding concrete additional protection from moisture.
Follow the product instructions for:
- Surface preparation
- Temperature
- Moisture conditions
- Number of coats
- Coverage rate
- Drying time
- Recoat time
Don’t assume that applying a thicker layer automatically creates a better waterproof barrier.
Step 6: Consider a Breathable Interior Sealant
A breathable interior masonry coating can be useful when dealing with basement moisture because it is designed to help resist liquid water while still allowing some water vapor to move through the masonry.
This can be preferable to trapping moisture behind an impermeable interior finish.
However, there is an important distinction between managing water vapor and stopping an active leak.
A breathable sealant is not a substitute for correcting major groundwater intrusion.
If water is actively pushing through the foundation because of hydrostatic pressure, an interior coating may eventually fail.
Use only a sealant specifically designed for basement concrete or masonry and follow its instructions regarding moisture levels and application conditions.
Step 7: Fix the Water Around the House
If you really want to keep a basement wall crack from leaking again, don’t stop at the interior wall.
Look at what is happening outside the foundation.
Start with the gutters.
Clogged gutters can send large amounts of rainwater directly beside the foundation. Downspouts should discharge water far enough away from the house that it doesn’t simply collect against the basement wall.
Next, inspect the soil around the foundation.
Ideally, the ground should direct water away from the house rather than toward it.
Other possible sources of basement moisture include:
- Poor exterior drainage
- Foundation drainage problems
- Plumbing leaks
- Groundwater
- Poor grading
- Window well drainage problems
- Condensation
If water keeps accumulating against the foundation, an interior crack repair may only be treating the symptom.
Don’t Rely on Paint to Waterproof a Cracked Wall
A common mistake is painting over a basement crack with ordinary masonry paint.
Paint can make the wall look better, but it isn’t necessarily designed to withstand water pressure coming through a foundation.
If the wall is leaking, use a waterproofing product specifically intended for the application.
And remember that waterproofing a wall from the inside has limitations. Exterior waterproofing and drainage improvements address the water before it reaches the foundation.
What If the Crack Starts Leaking Again?
If you’ve repaired the crack correctly and water eventually returns, don’t keep adding more layers of patching material.
Instead, determine what’s changed.
The leak could be related to:
- Heavy rainfall
- Rising groundwater
- Poor drainage
- Foundation movement
- Hydrostatic pressure
- A failed repair
- Another nearby crack
Sometimes water that appears to come from one crack is actually entering somewhere else and traveling along the foundation before becoming visible.
That is why finding the source of the moisture is just as important as sealing the visible crack.
5 Common Questions Homeowners Ask
1. Can I patch a cracked basement wall myself?
Yes, some small, stable, non-structural cracks can be repaired as a DIY project. However, large, horizontal, widening, or structurally suspicious cracks should be professionally evaluated before attempting a repair.
2. Is polymer-modified mortar good for basement wall cracks?
It can be appropriate for certain concrete and masonry repairs because it is designed to bond well and provide durable patching. The specific product should match the type and size of the crack and the moisture conditions.
3. Will waterproofing the inside of my basement stop the leak permanently?
Not necessarily. Interior waterproofing can reduce or stop water entering through some minor cracks, but it does not eliminate groundwater pressure outside the foundation. Persistent leaks may require drainage improvements, exterior waterproofing, crack injection, or another foundation moisture solution.
4. Should I use a breathable basement wall sealant?
A compatible breathable masonry coating can be useful for managing moisture vapor while helping resist liquid water. However, it should not be viewed as a guaranteed solution for significant active water intrusion.
5. When is a basement crack serious enough to call a professional?
Get professional help if the crack is widening, horizontal, unusually large, accompanied by wall movement, or allowing substantial water into the basement. Repeated failed repairs are another good reason to have the foundation and drainage system inspected.
The Best Basement Crack Repair Starts With the Water Problem
Patching a basement wall crack isn’t simply a matter of filling the opening.
For a minor, stable crack, the process should involve inspecting the damage, testing for moisture, cleaning the concrete, preparing the crack, applying an appropriate polymer-modified mortar, allowing it to cure, and using compatible waterproofing materials.
But keeping the basement dry for the long term requires looking beyond the crack itself.
Gutters, downspouts, grading, drainage, groundwater, and foundation movement can all affect whether a repair succeeds.
If the same crack continues leaking after you’ve patched it, don’t keep covering it up. Find out why the water is getting there in the first place.